do-it-yourself spring garland with scotties


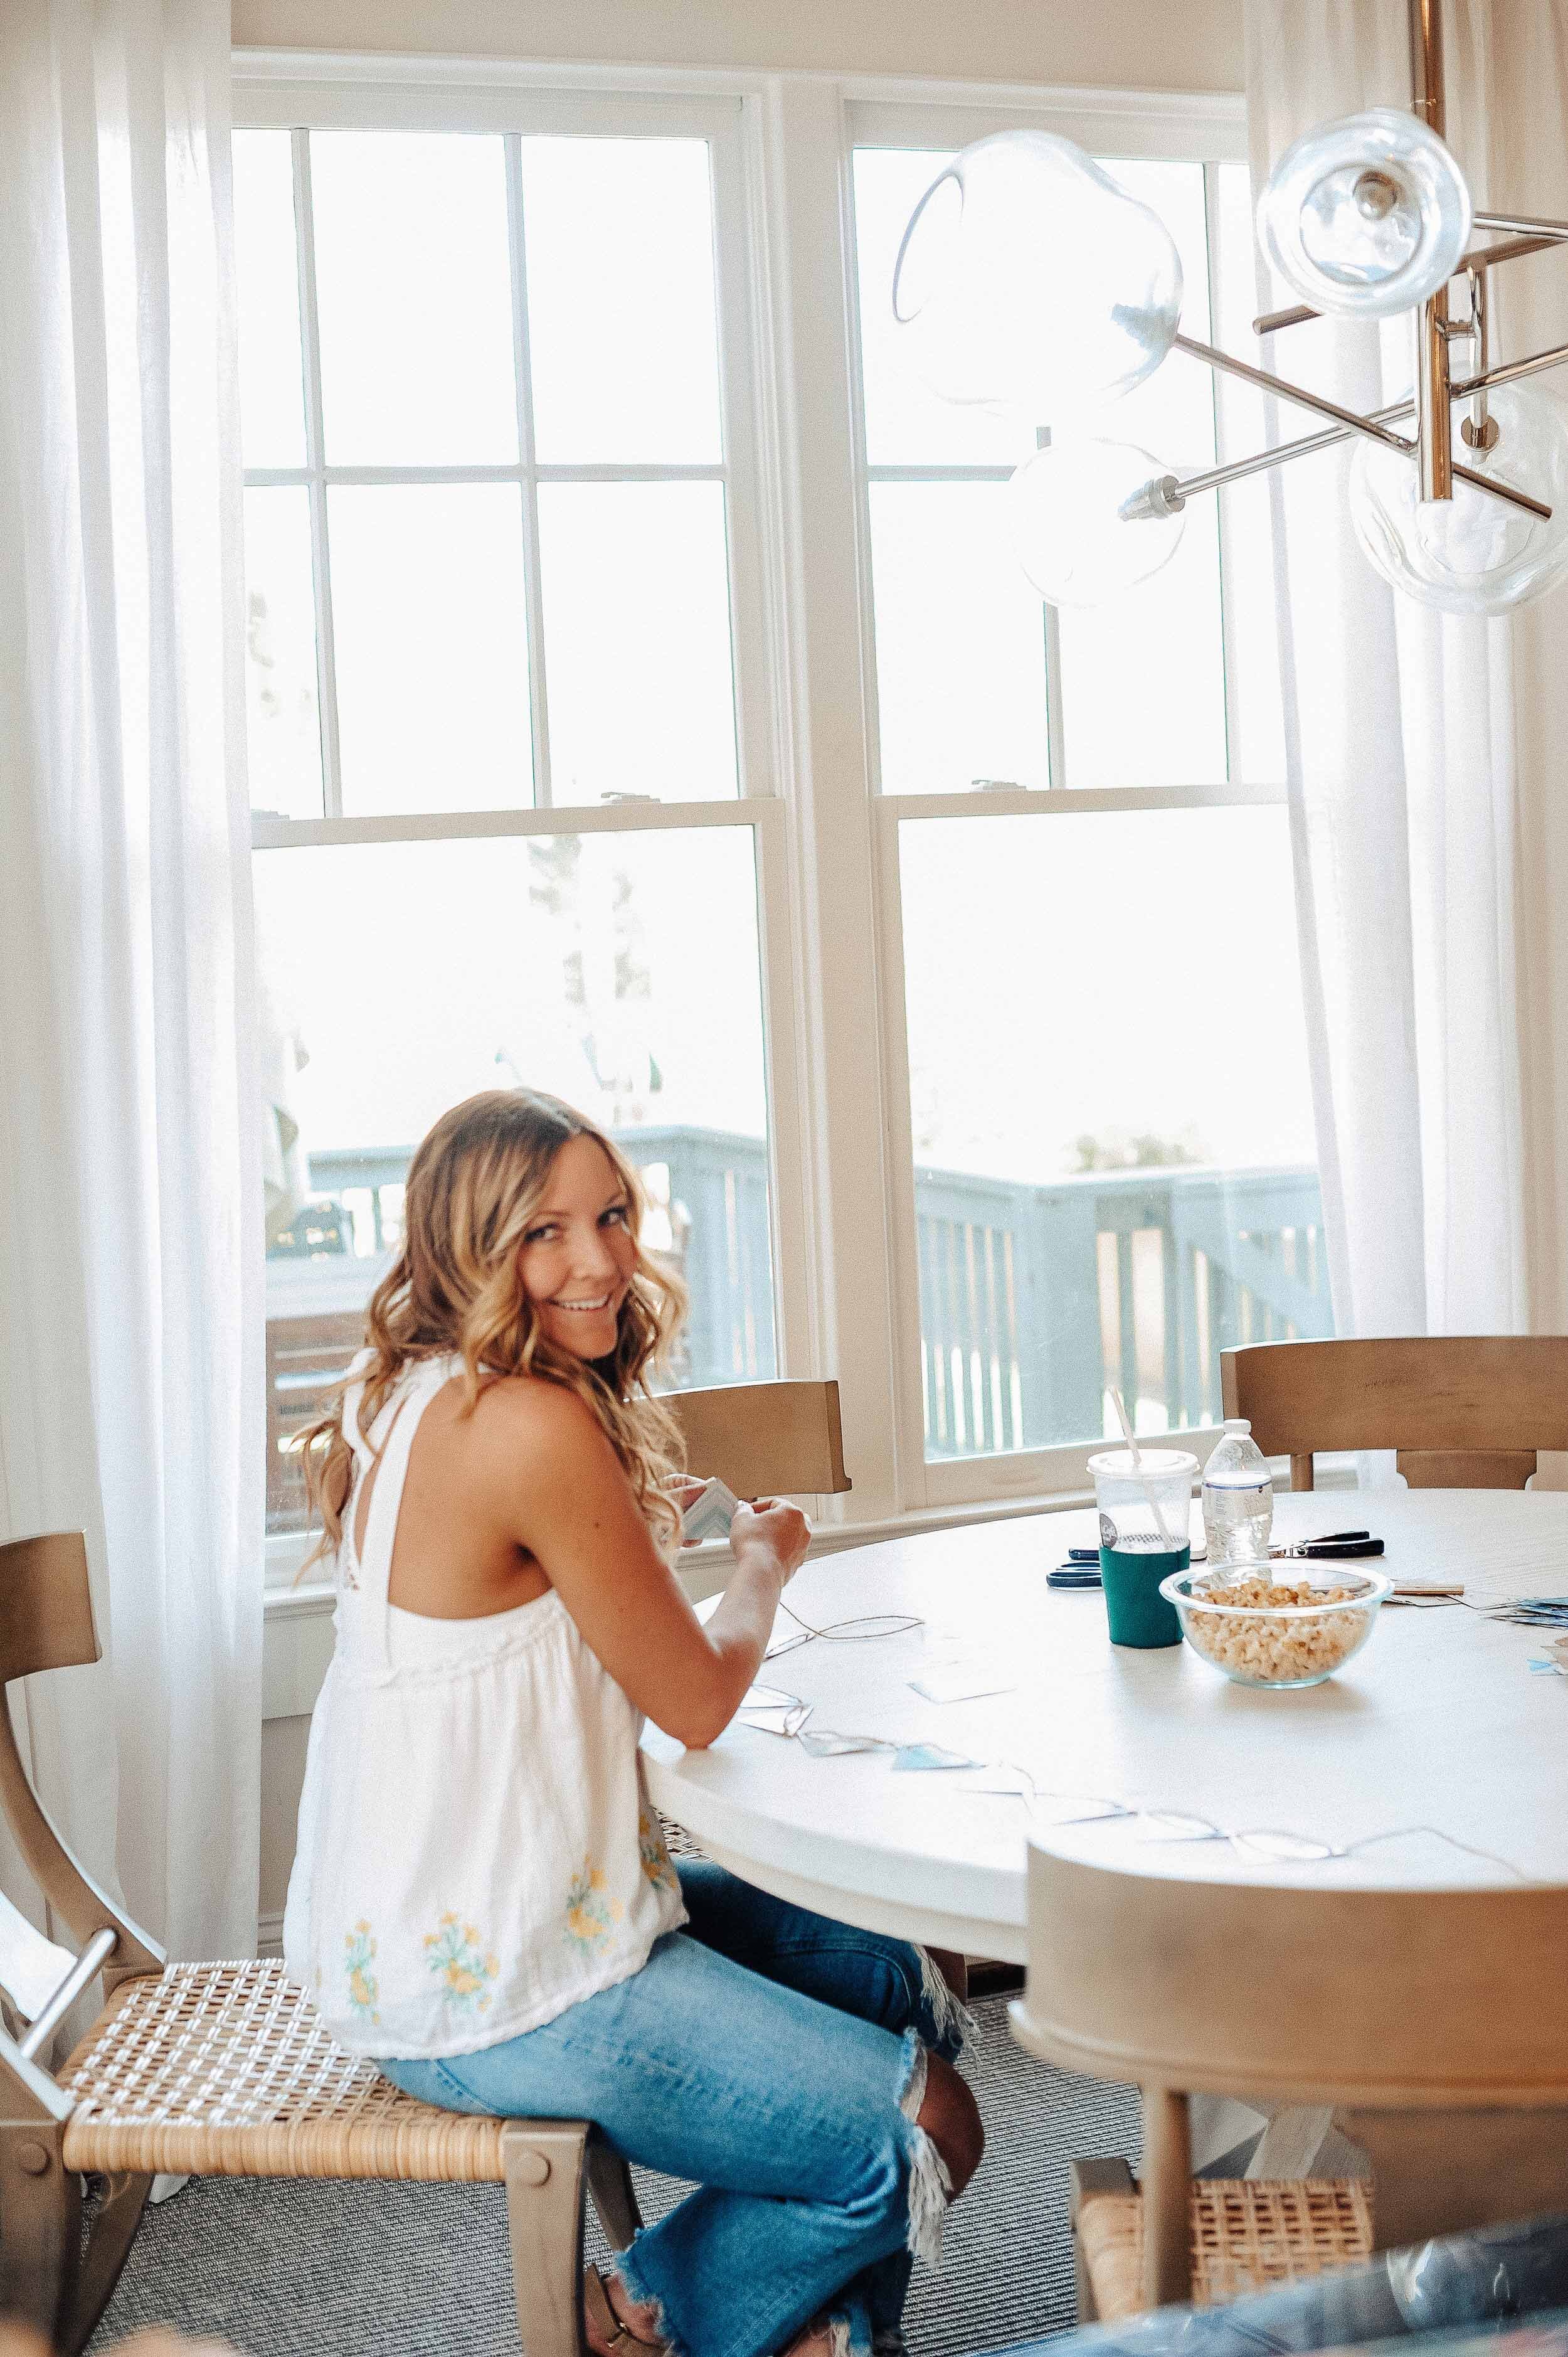
free people “Golden Hour” camisole | free people “Maggie” denim | ‘be fearless’ necklace | similar shoes here and here | photos by JNelly Photography

***it’s an oldie but a goodie today! I promise you guys some new content as soon as I stop having panic attacks about the beginning of life with a MIDDLE. SCHOOL. GIRL. #allthedrama #allthetime
It’s a little ironic that Scotties reached out to me about collaborating on a project, because the sheer amount of tissues my people have been using over the last 2 months will probably bankrupt us soon. So when Scotties asked if they could send me some boxes featuring their new spring designs, I was all SEND HELP AND BY HELP I MEAN ALLLLLL THE TISSUES AND BTW WHEN CAN WE START?!
Now, we’re into allergy season. So guess what we need more of? TISSUES. If I’m being honest, I’ve kind of avoided the “conveniently placed tissue box” route, in favor of the “blow your nose until it’s raw using only toilet paper and paper towels” method. Why? Because most tissue boxes aren’t all that decorative. Enter Scotties spring designs, which look great in virtually every room in my home. Not only that, there are SO MANY fun ways to upcycle these bad boys. My personal favorite is using the empty boxes to make a cute spring-y garland.
*everyone who knows me IRL chokes in disbelief at the thought of me creating ANY kind of garland. Much less a cute one.
I mean, sure, I pin a million DIY projects on Pinterest, because apparently I’m not aware of my actual personality or my lack of skill. Fortunately, this little craft delivers on “simple,” which means your kiddos can do it with you. You know, instead of playing Minecraft for 5 hours straight. Hypothetically.
Ahem. BACK TO THE CRAFTING.
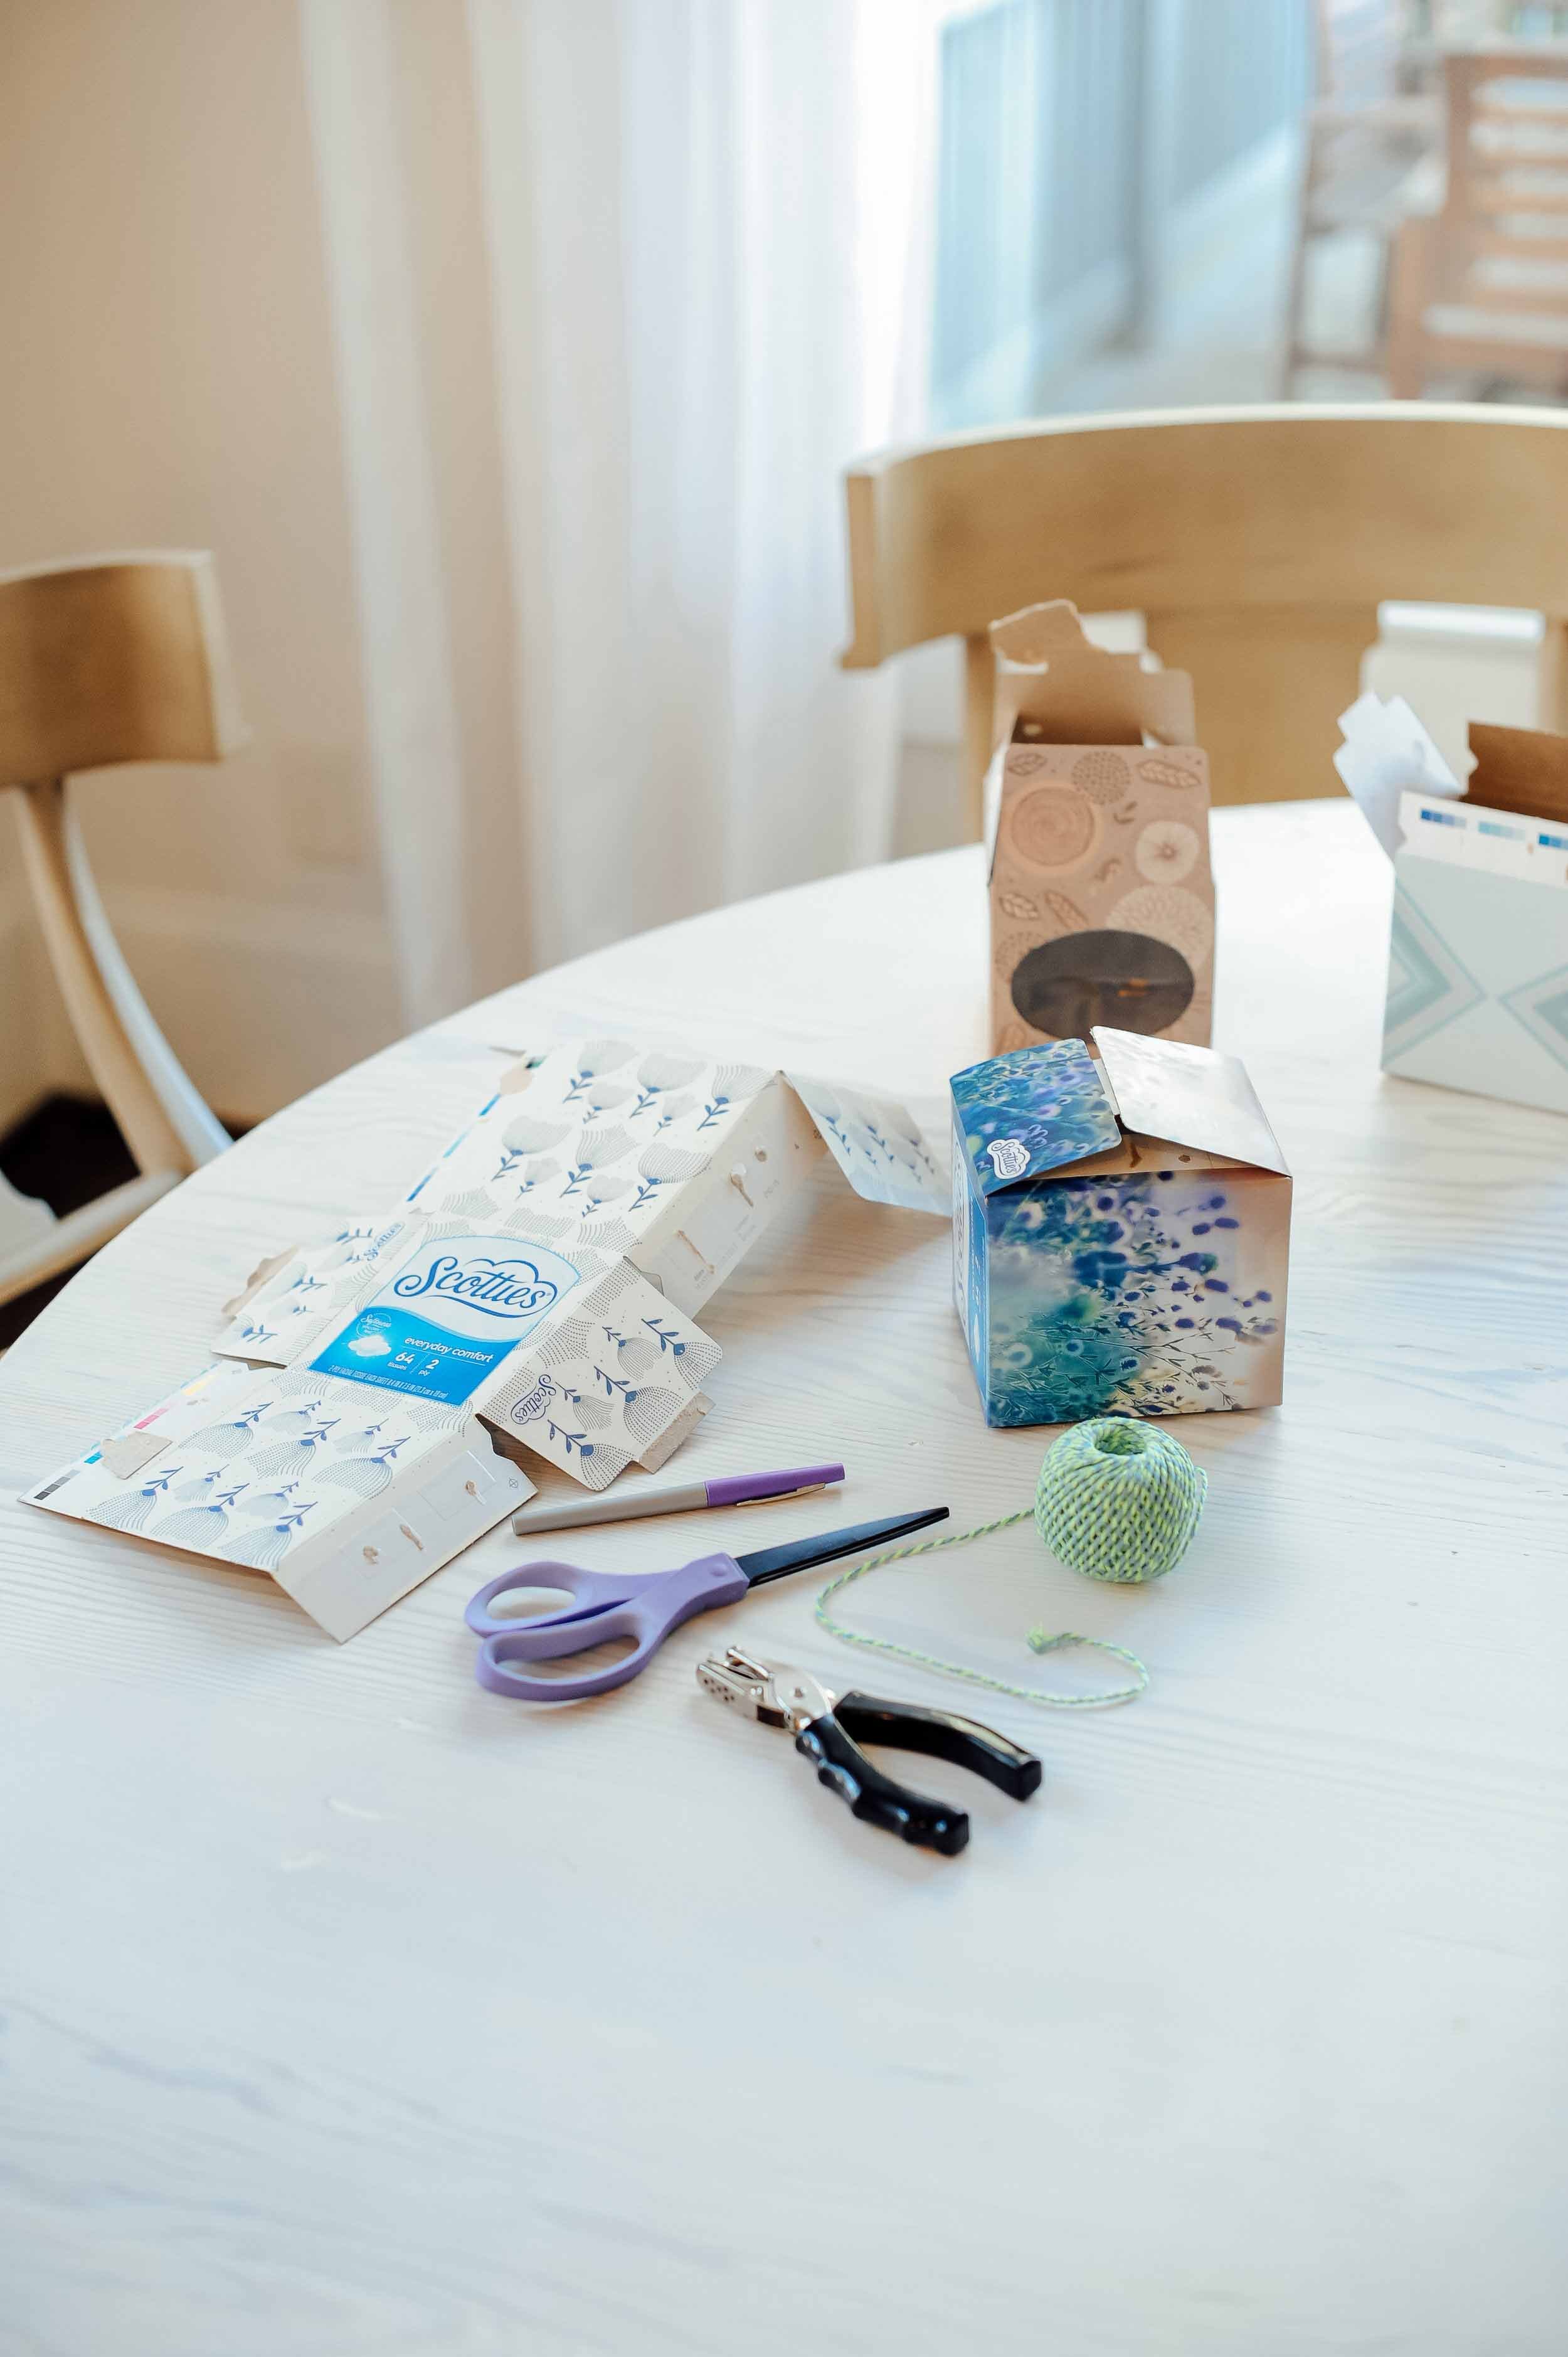
What you’ll need: 4 or 5 tissue boxes, a ruler, pencil, pair of scissors, hole punch, and twine/burlap/ribbon.
STEP ONE: Gather the now empty tissue boxes your family has managed to snot their way through in a matter of days. Unfold them completely.
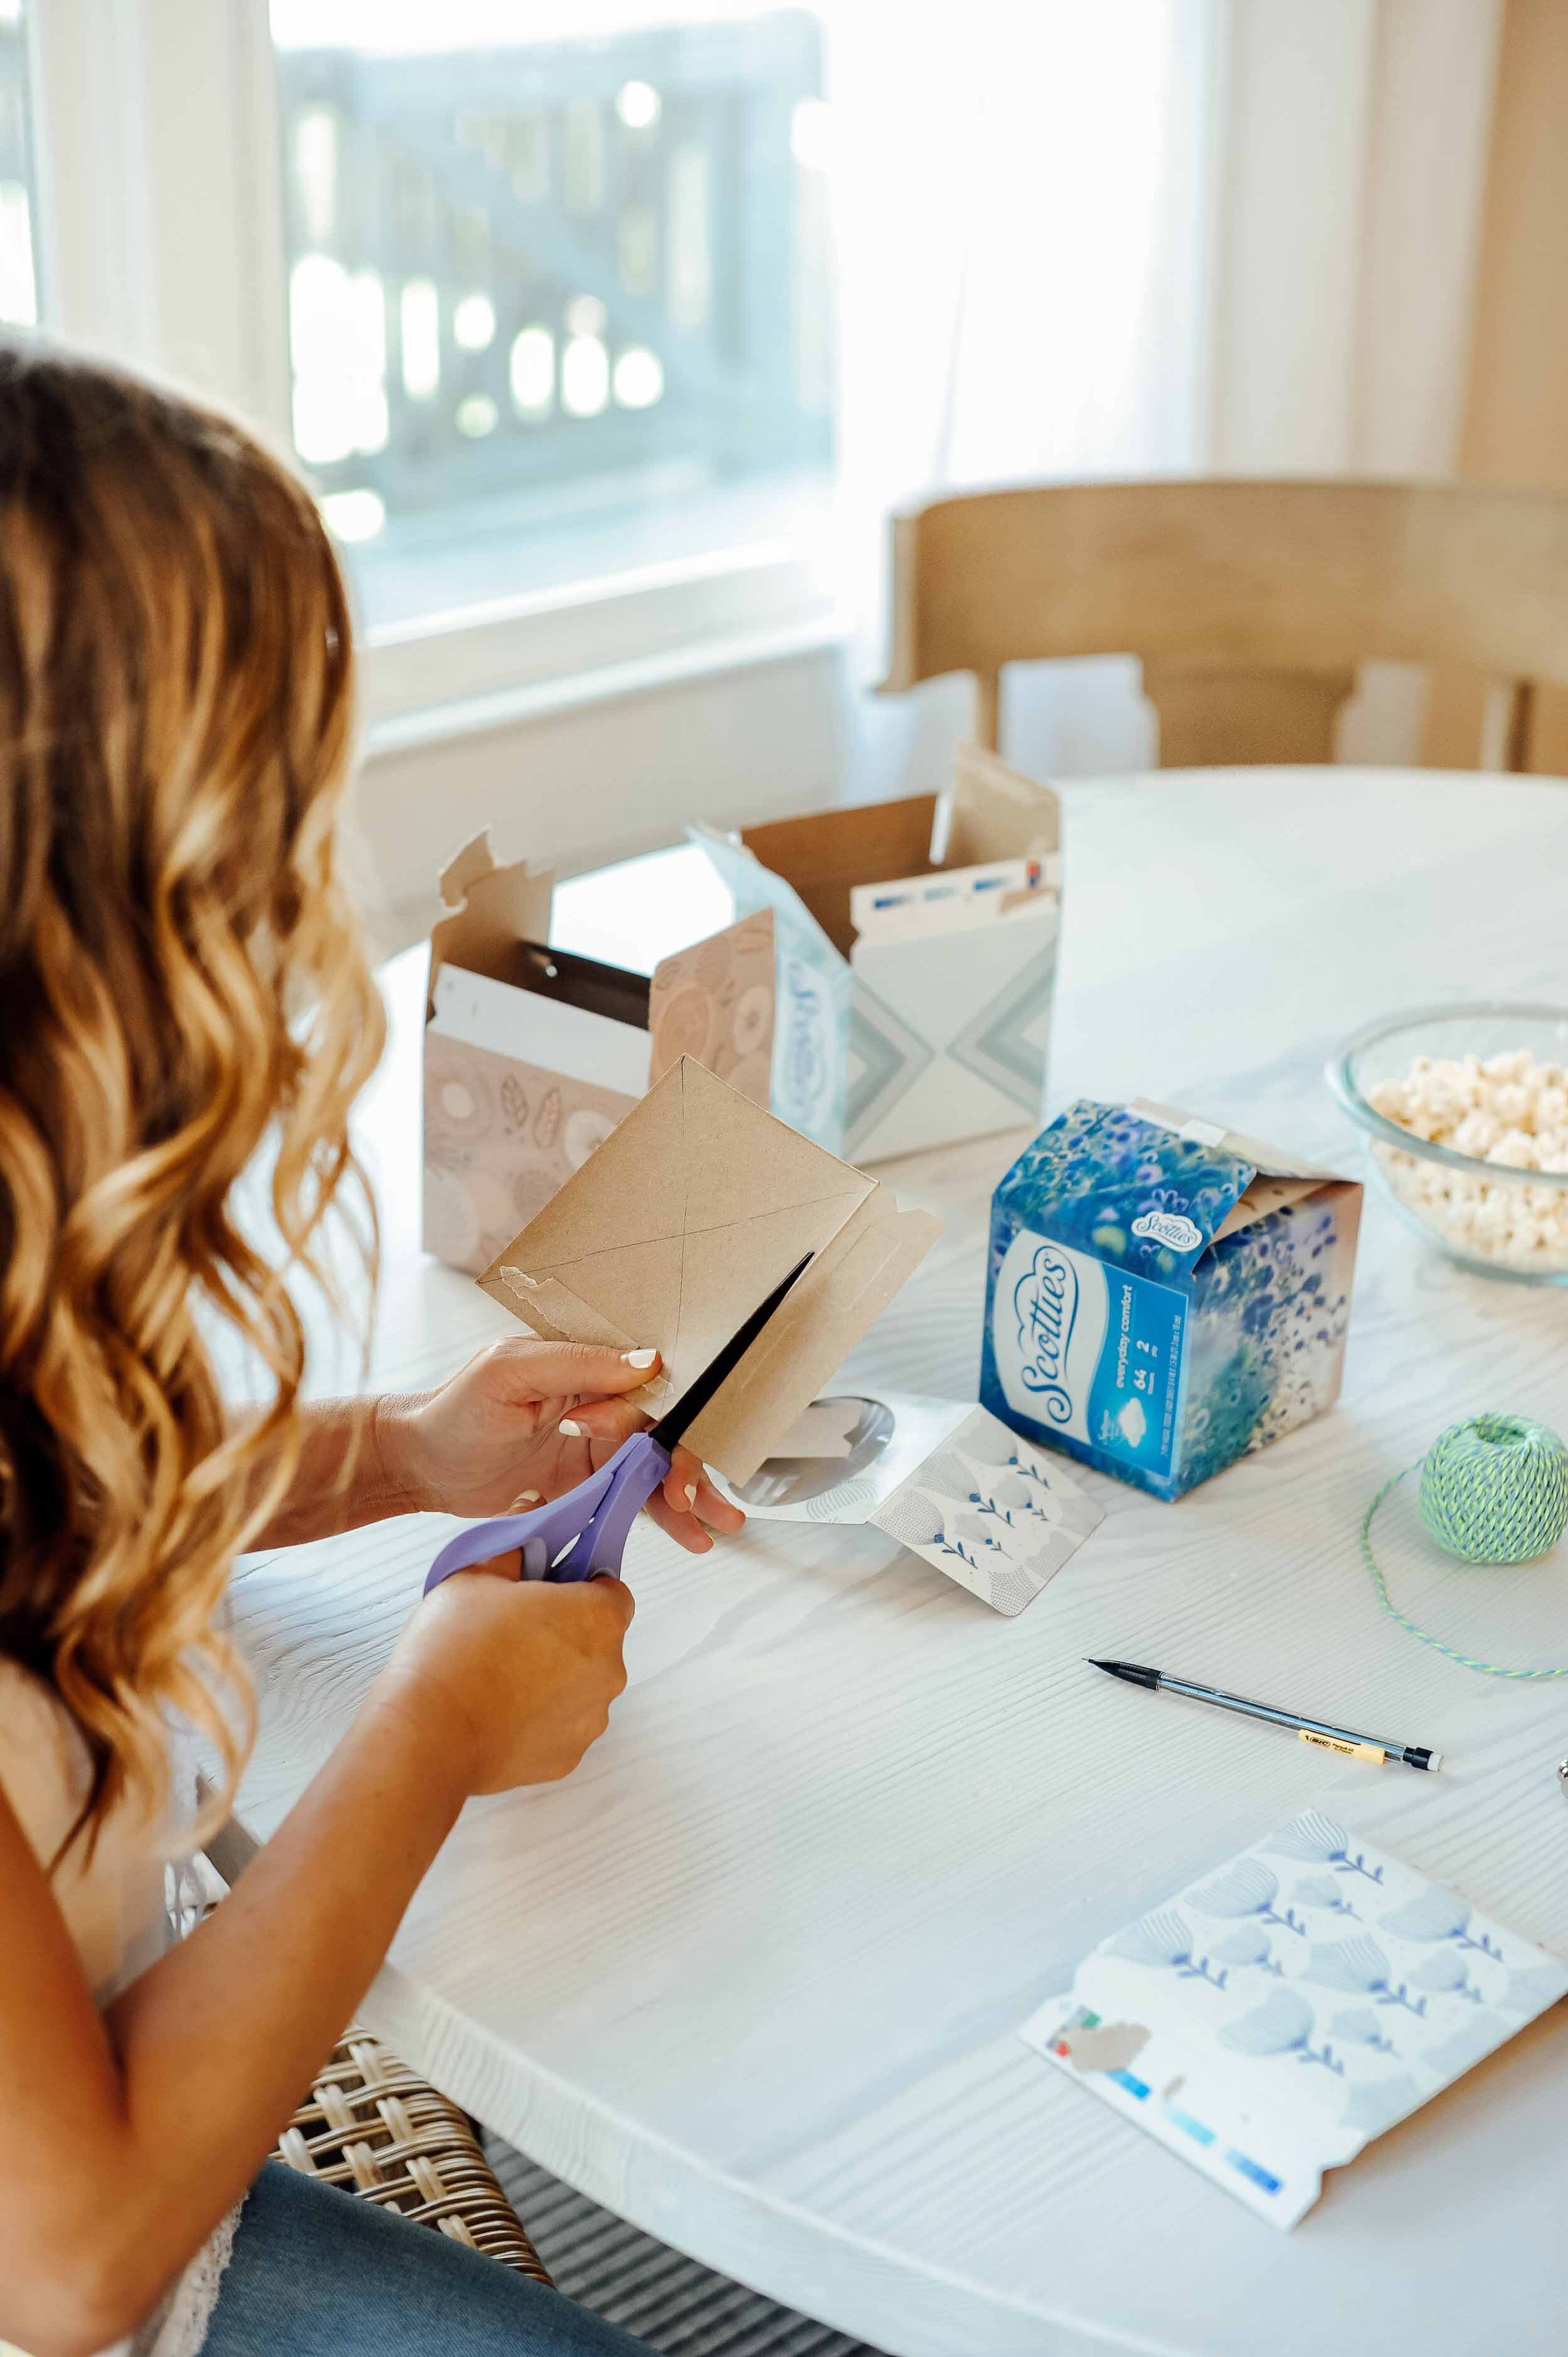
STEP TWO: Divide each decorative side into four equal triangles using your pencil and ruler. (Some sides of the tissue box have writing/logos. so you may want to discard those. You COULD use the plain brown side on those pieces as part of your pattern, if you really want to use the entire box.)
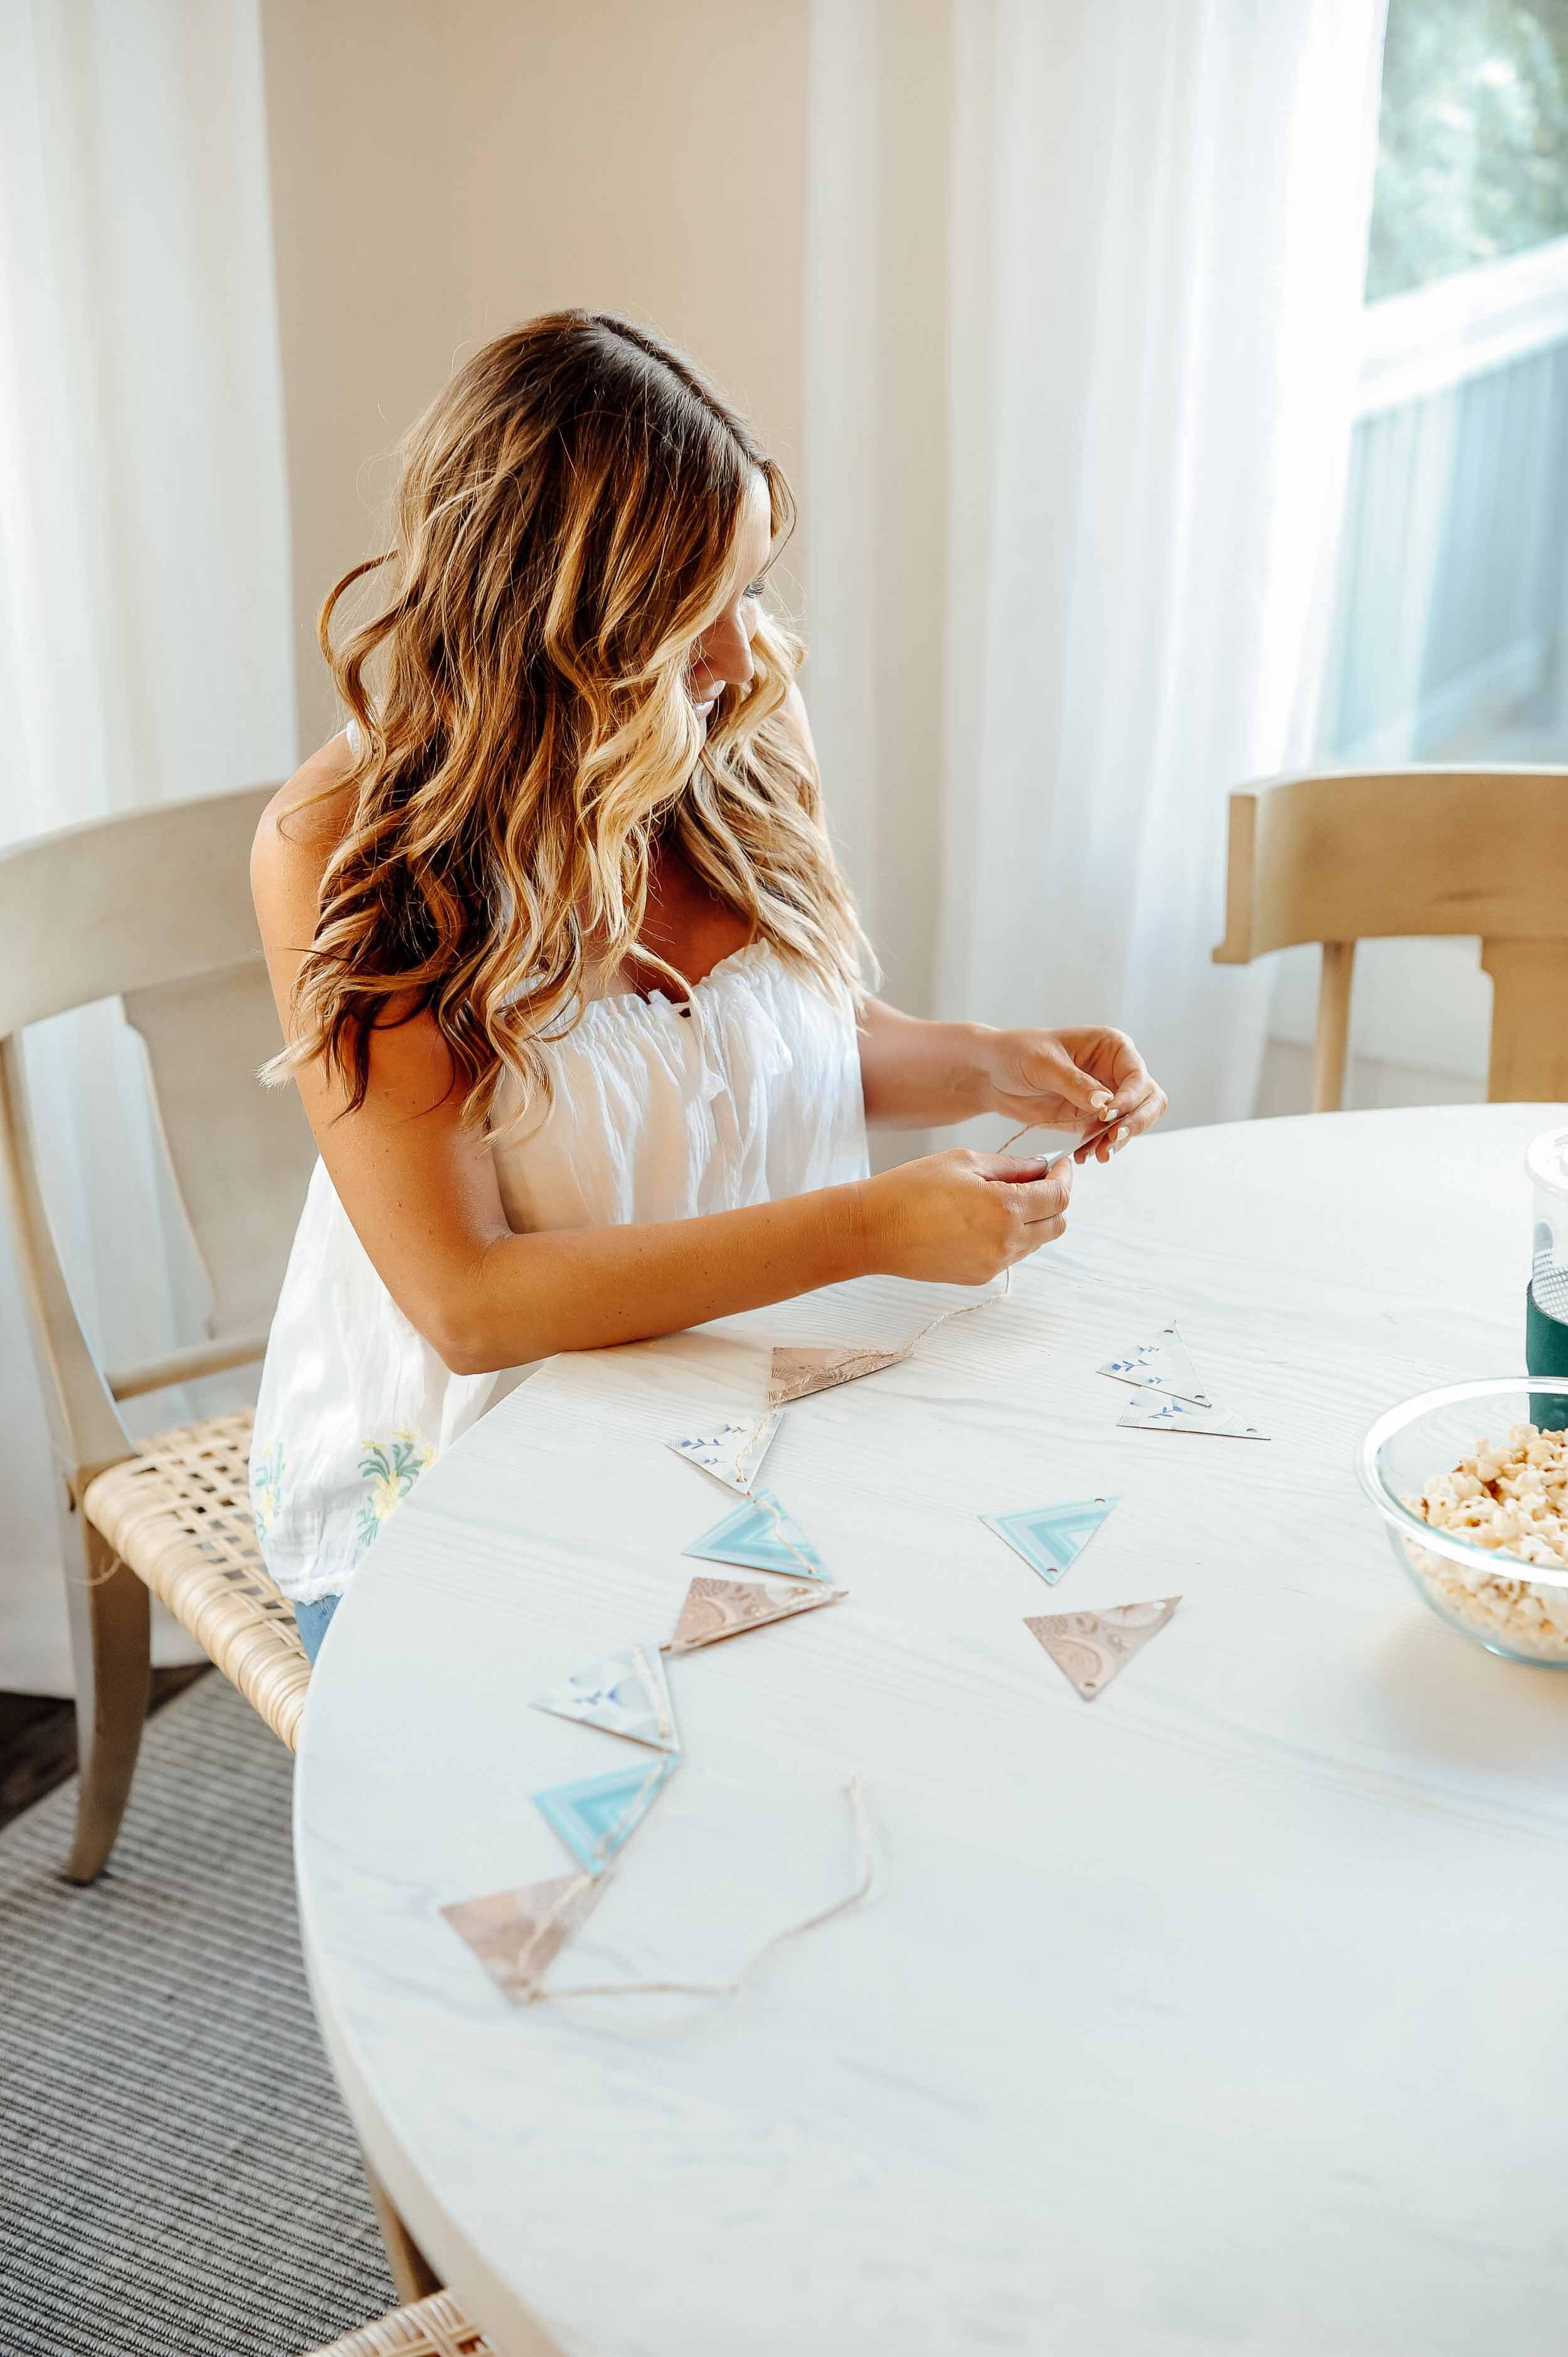
STEP THREE: Cut the triangles you just drew, and arrange your pattern. Pat yourself on the back for being all Martha Stewart-y.
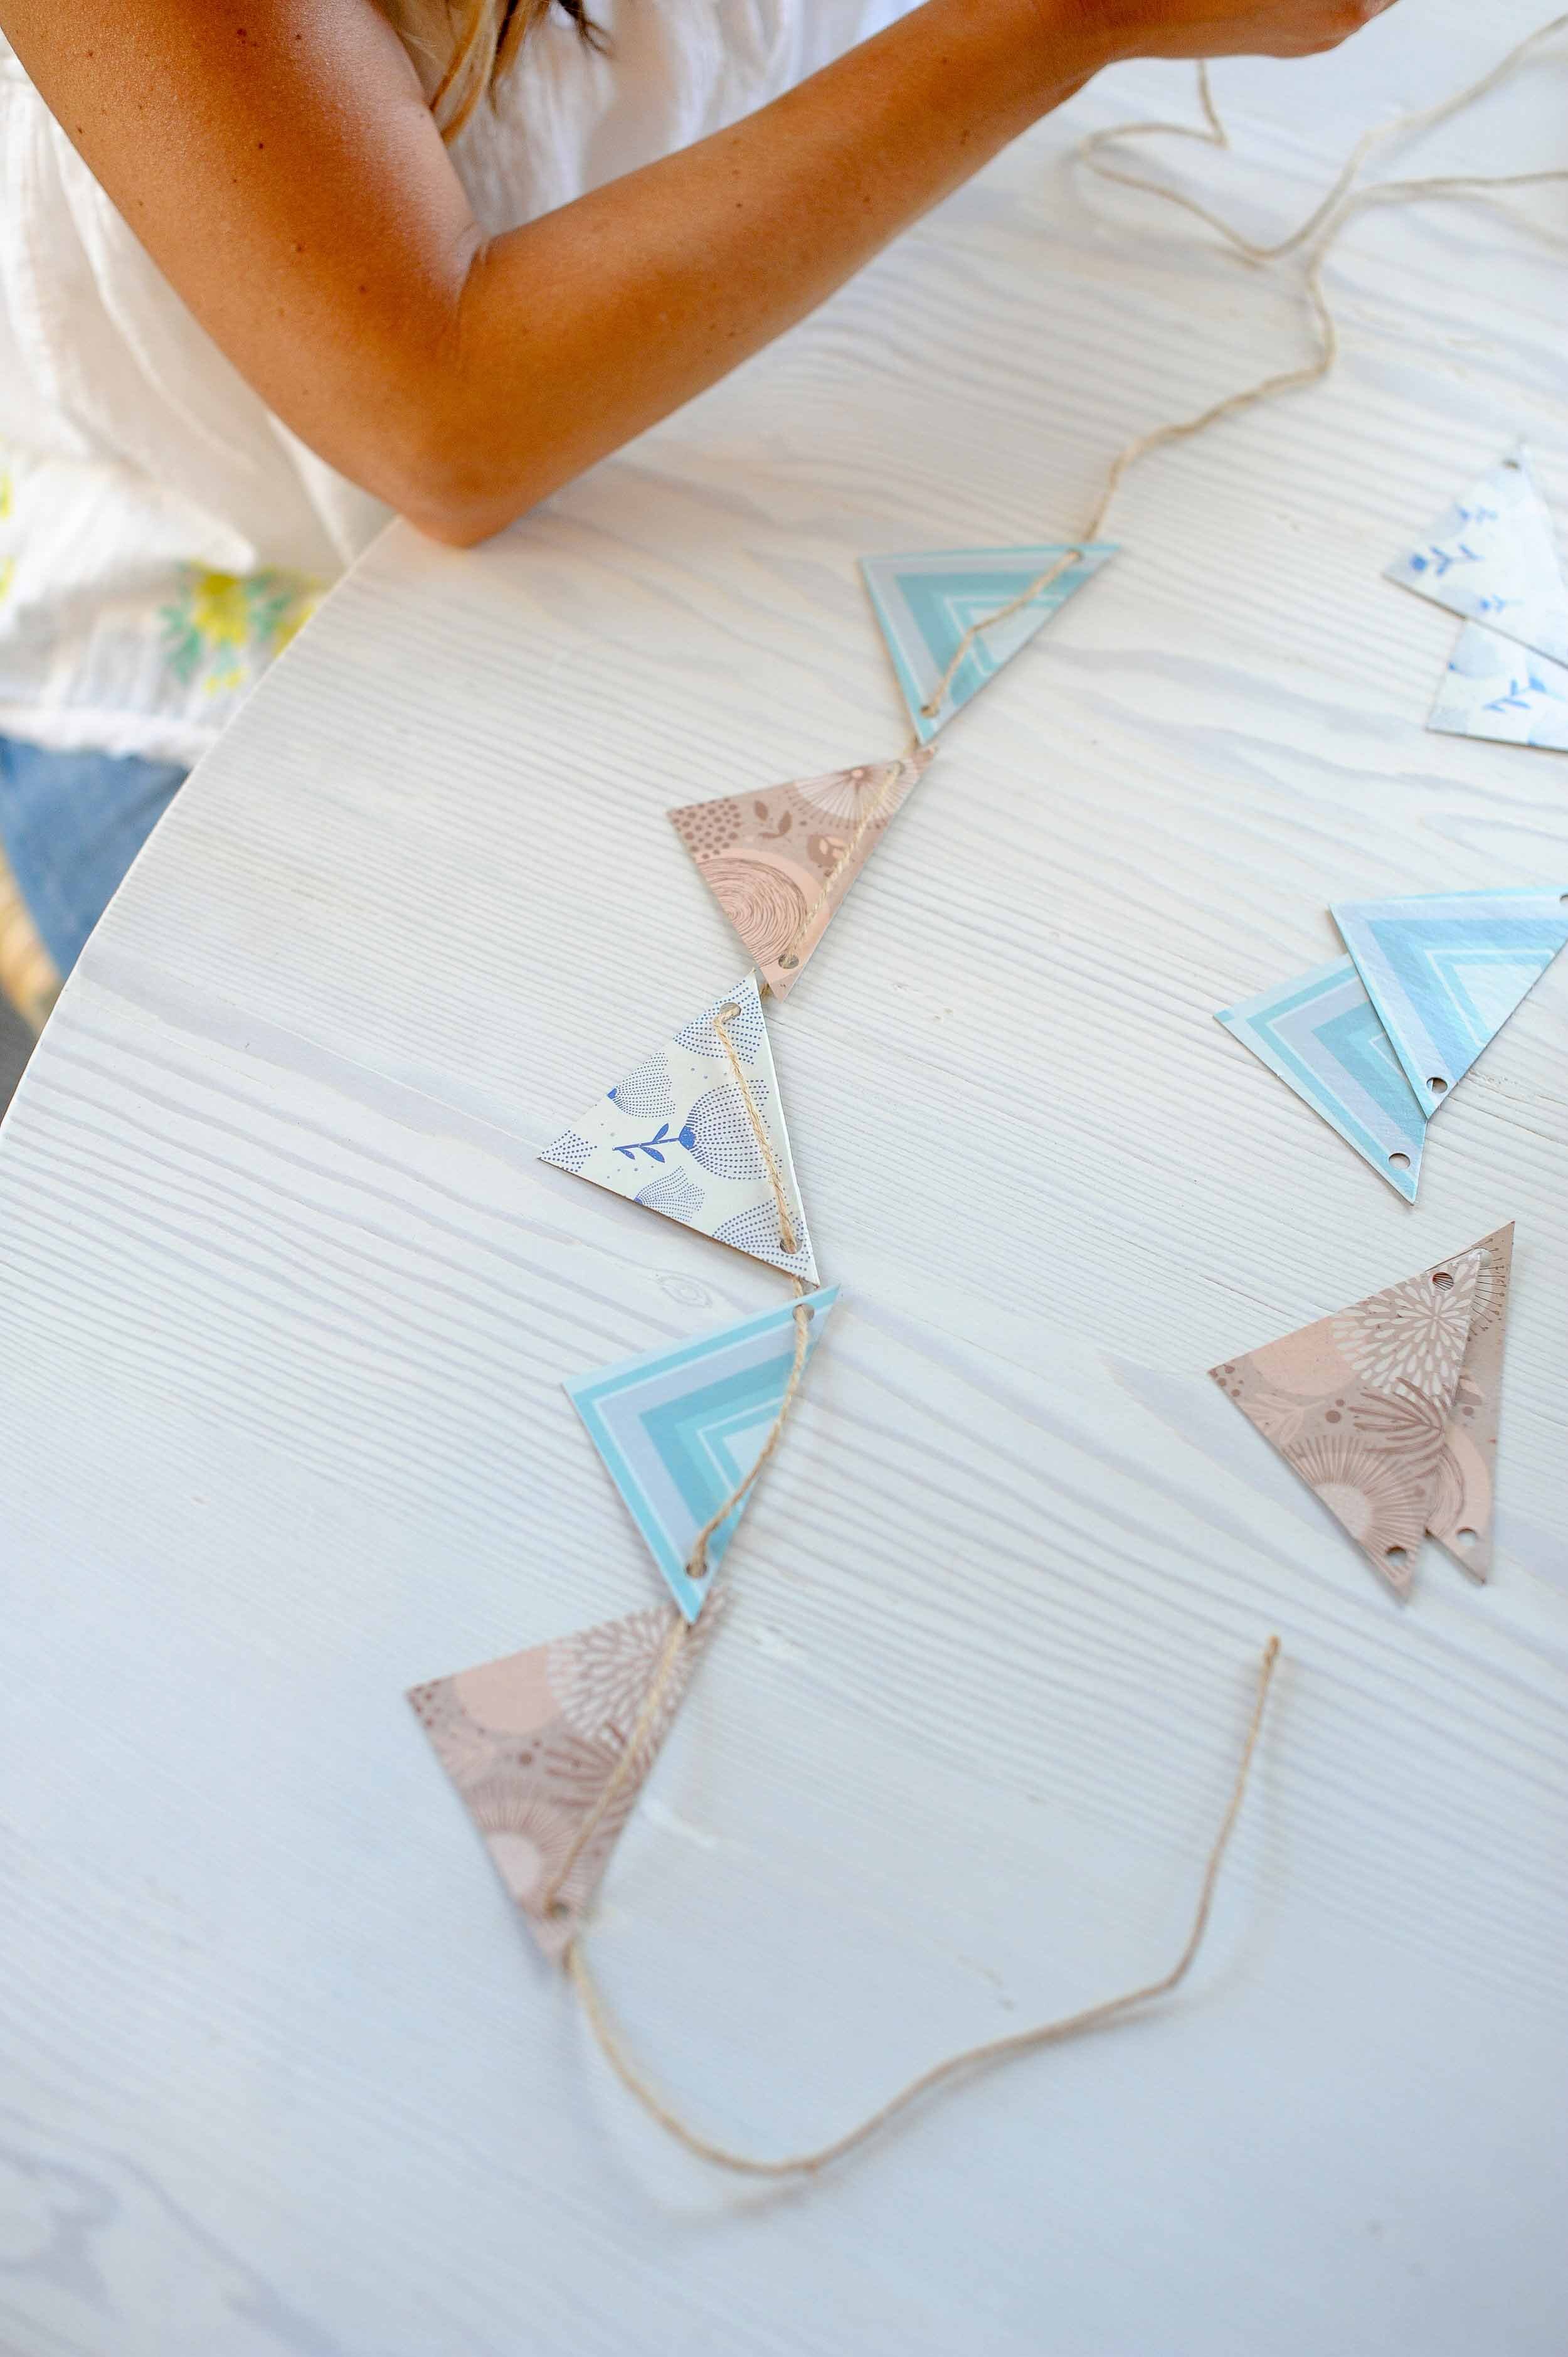
STEP FOUR: Punch a hole in two corners of your triangle. Remember how fun it is to punch holes in things, and find random pieces of paper to mutilate with said hole punch.
STEP FIVE: Cut your twine/string/ribbon to a length of about 4 or 5 feet. Realize that your ability to eyeball 4 or 5 feet cannot be trusted.
STEP SIX: Thread those cute little triangles onto your string, and find yourself a fun place to hang the completed garland. Congratulate yourself on your vast craft-abilities (no?), and begin imagining your future HGTV show.

Jackson says it’ll really be HIS HGTV show. He’s a diva like that.
P.S. Feel free to try different shapes if you’re feeling fancy. For example, circles, flowers, or orca whales (y’all can thank Bo for that impossible to draw idea). Or, check The Store That Shall Not Be Named (but rhymes with Schmarget) for some cute garland options to mix and match with your own. You probably won’t even be able to tell which one’s homemade, because yours is just THAT GOOD. Ish.

I mixed and matched with these cute Easter egg garlands for a little extra flair.
BONUS POINTS for busting out this project during that awkward Spring Break moment when your kids are “so bored” and “don’t have anything fun to do.” (In other words, 5 minutes after it starts.) Teach them a valuable lesson in creativity, while also teaching them to entertain themselves.. Winning at crafts, motherhood, and tissue boxes.
Until next time,

This post was sponsored by Scotties, but all thoughts and opinions are my own. As are my mediocre garland-ing skills. Scotties tissue boxes are legitimately great, and I had a ton of fun getting creative on this collaboration. Thanks, Scotties!